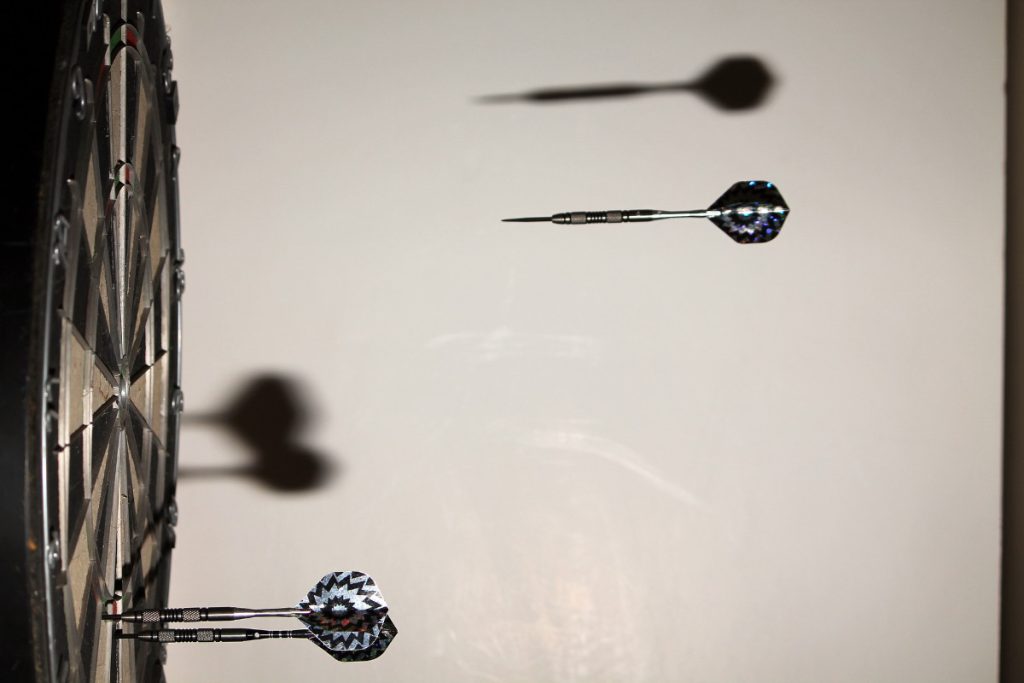
If you want to succeed in darts, it’s not just about practice — it’s also about carefully observing how the pros play. Pay attention to their stance, throwing motion, how they handle pressure, and how they stay “in the flow.” For beginners especially: fundamental mistakes, once ingrained, are hard to correct. That’s why it’s essential to master the basics first — only then should you adapt them to your own style.

1. The Stance – The Foundation of Every Throw
Your stance is the base for accuracy.
-
Right-handed players place their right foot forward, left-handed players place their left foot forward.
-
The front foot is usually positioned parallel or at about a 45° angle to the oche.
-
The back foot provides stability, with both feet always in contact with the ground.
-
Avoid hopping or shifting weight — it adds unnecessary instability.
Tip: If you’re not happy with your throw, start by fixing your stance. Watch the pros and copy their positioning.
2. The Grip – Your Personal Hold
Unlike the stance, grip is highly individual — much like how you naturally hold a pen.
-
Grip style depends on the length of the barrel: longer barrels are often held with more fingers for stability.
-
Regardless of how many fingers touch the barrel, thumb and index finger are crucial during release.
-
The grip should be firm enough for control, but not so tight that it leaves marks.
-
Too loose, and the dart may wobble and land at odd angles.
3. Dominant Eye – Your Target Line
Here’s how to find your dominant eye:
-
Point at the bull’s-eye with both eyes open.
-
Close your right eye — if you’re still pointing at the bull’s-eye, your left eye is dominant.
-
Close your left eye — if you’re still pointing at the bull’s-eye, your right eye is dominant.
If you can’t tell, aim using both eyes. Some players don’t consciously aim at all, relying purely on rhythm — if that works for you, stick with it.
4. The Throw – Five Key Stages
A consistent throw has five components:
-
Aiming
-
Backswing
-
Acceleration
-
Release
-
Follow-through
Aiming: Focus on a specific mark (a dent, shadow, or texture) to block out distractions.
Movement: Keep your upper arm and shoulder steady — only the forearm moves.
Backswing: Whether you draw back near your chin, eye, or ear, pick what feels natural and stick with it.
Release: Experiment with different release points to find your optimal control.
Follow-through: Fully extend your arm after release to keep your throw consistent.
Fun fact: Darts don’t travel in a straight line — they follow a slight arc.
5. Pro Tips from John Part
-
Think 2D, not 3D: Align your eye, shoulder, arm, elbow, hand, dart, and target in an imaginary vertical plane, and keep all movement within that plane.
-
Extend the elbow: Move it as far away from your body as possible to bring your shoulder directly under your eye and align everything toward the target. Maintain this stretch throughout the throw — it may feel awkward at first, but it improves accuracy.
6. Technique Check – The 100-Throw Drill
Train by throwing 100 darts at the 20 segment:
-
Use a rubber band to divide the dartboard vertically in half.
-
Record each dart’s landing spot on a matching diagram.
-
Analyze: Do they land too high, too low, too far left or right?
-
The goal is not to consciously aim higher or lower, but to adjust your technique so darts fly straight and close to the center line.
Conclusion:
A stable stance, a natural grip, awareness of your dominant eye, and a well-structured throw are the foundations of great darts. Study the pros, adapt what works for you, and build a reliable personal style. Precision won’t happen overnight — but with consistent, focused training, your skill level will steadily rise.


